There was a new release of Outlook for Mac in October so the user interface has changed slightly.
With Outlook open, there are couple of ways to access the Out of Office feature. The screenshot examples will include the previous version, and the new version just released.
Option 1 – Select the ‘Tools’ menu, then select ‘Out of Office’
Previous version:

New version:
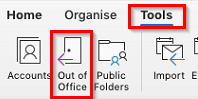
Option 2 – Select ‘Tools’ from the menu bar up the top, then select ‘Out of Office’ if you have the previous version or ‘Automatic Replies’ if you have the current version.
Previous version:

New version:

This will open up the ‘Autoreply Settings’ menu.
In this menu, you will be able to select the ‘Send automatic replies for account’ option and enter the text you want to be sent when you receive an email. Be sure to fill out both the top and bottom fields as these will determine what autoreply message is sent to internal and external senders.
Previous version:

New version:
The difference with the new version is from the left hand menu, you can select what account you are applying the autoreply to.
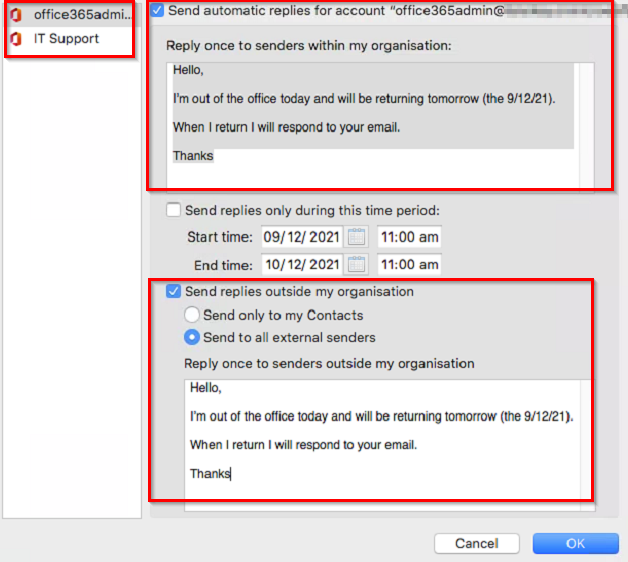
Select OK once you have finished entering in your autoreply to apply the settings.
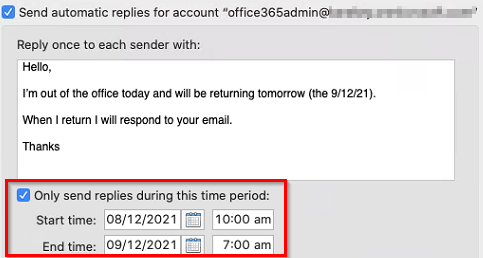
There is also an option to select ‘Send replies only during this time period’ which lets you enter in a time and date range when it will only send the autoreplies. Once the time period has passed it will stop sending autoreplies.
Select OK once you have finished entering in your autoreply and the time and date settings to apply the settings.
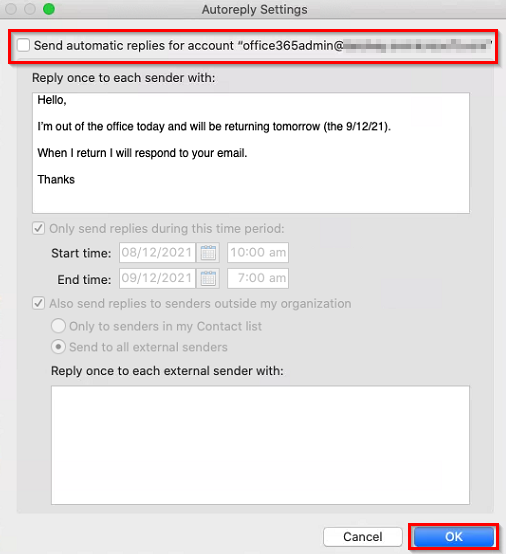
Disabling the automatic replies is simple. Go back into the menu following the first instructions and untick both of the ‘Send automatic replies for account’ and then press OK to apply the changes.
Any further questions about how this works or if you are having trouble applying the settings, please email requests@sentrian.com.au, or give us a call.