Why use My Sentrian?
Using My Sentrian allows us to get help to you faster, resolve your issues more efficiently and keep you up to date with every aspect of your IT environment and the services we provide to you. For more details, please click on this Sentrian website link.
How to
You may use My Sentrian to report a problem, request service or see your ticket updates.
To access the instructional video, please click on the link below:

Alternatively, you may follow the steps outlined below:
Report a Problem
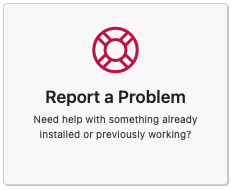
Use ‘Report a Problem’ if you need help with something already installed or previously working.
- Click on ‘Report a Problem’ under My Sentrian Home https://my.sentrian.com.au/app/service/report
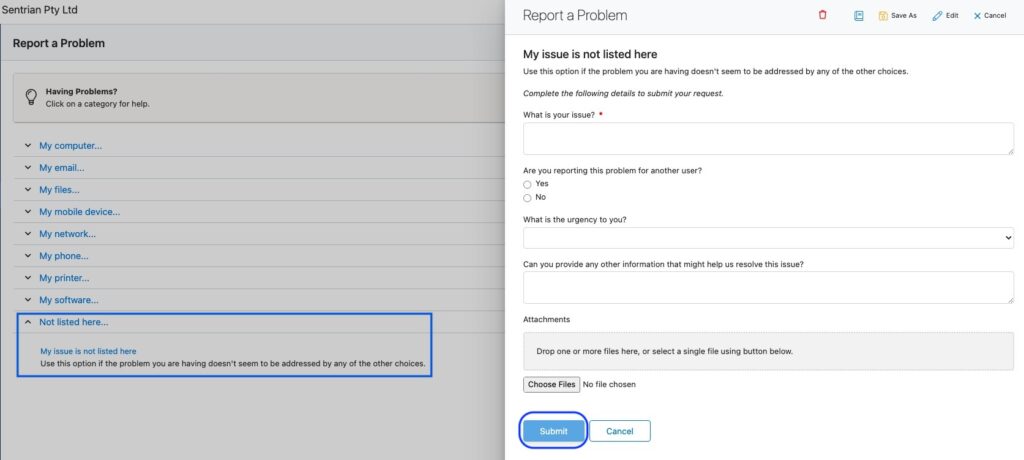
- Click on the category related to your problem. Then click on the related problem
- If none of the categories are related to your problem, please click on ‘Not listed here’ and select ‘My issue is not listed here’
- There will be a form with questions related to your problem. Fill up the form and click on ‘Submit’. A ticket will be created for you
Request Service
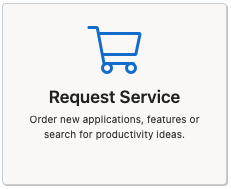
Use ‘Request Service’ if you would to request for new applications, features, or search for productivity ideas. IT administrator can use this to submit IT administration request such as ‘Add a New User’.
- Click on ‘Request Service’ under My Sentrian Home https://my.sentrian.com.au/app/service/request
- Top referenced requests are displayed. If you like to see all categories, click on ‘All’
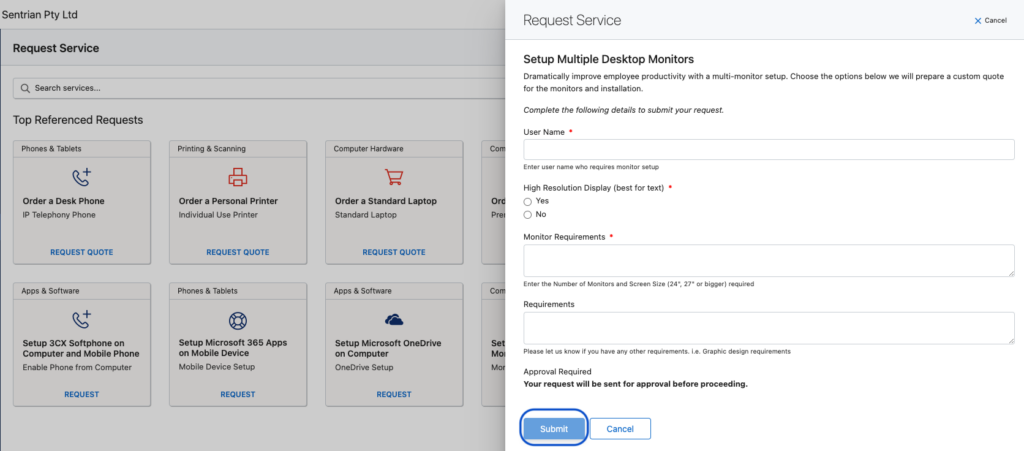
- Click on the request related to your service required
- There will be a form with questions related to your service. Fill up the form and click on ‘Submit’. A ticket will be created for you
Ticket Updates
To check the status of your tickets and provide Sentrian with updates on your request, utilise ‘Ticket Updates’. Additionally, you can attach a file or screenshot to your ticket.
- Click on ‘Ticket Updates’ under My Sentrian Home https://my.sentrian.com.au/app/service/request
- To update ticket, simply mouse over and click on the ticket
- You may
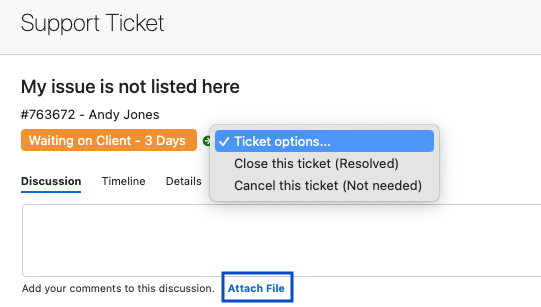
- Add your comments to the discussion
- Attach File
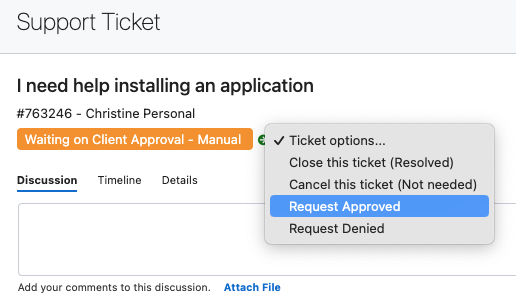
- Go to ‘Ticket options‘ to close or cancel the ticket
The IT administrator has the ability to approve or deny a ticket.
- To approve or deny request on a ticket, simply mouse over and click on the ticket
- Go to ‘Ticket options‘ and click on ‘Request Approved‘ or ‘Request Denied‘, then click on ‘OK‘ to proceed in the pop-up ‘Confirmation’ window or ‘Cancel‘ if you changed your mind.