Windows 10 has a built-in, basic screen recorder. It was designed to record video games, but can work for many applications. However, it may not work for some, e.g. the File Explorer.
If you need quickly make a recording of your screen, this is the easiest option.
How to record
- Open the application you wish to record.
- Press the Windows Key + G button at the same time.
- A dialog box will pop-up reading ‘Would you like to open the game bar?’, tick the ‘Yes, this is a game’ box.
If this dialog box does not appear, you cannot record the application using the built-in Windows 10 recorder. - A new dialog menu will open with your recording options.
Feel free to hover over the icons to learn your various recording options. - To make a recording, click the black record button in the centre of the menu, or press Windows + Alt + R on your keyboard. The recording will start and a mini dialog menu will appear.
- To stop the recording, click the square icon in the mini menu or Windows + Alt + R.
- To access your recordings,
- Press Windows + G > click the folder icon underneath where the time is displayed; or,
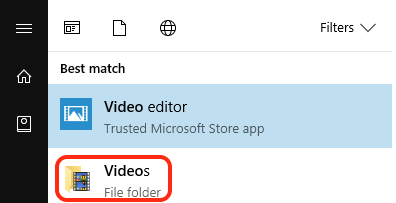 Press Windows and type in ‘Videos’ > open the Videos folder > open the Captures folder; or,
- Go to the following address in the File Explorer and replace *username* with your Windows username:
C:\Users\*username*\Videos\Captures
- The recordings will be available as an easily shareable MP4 file.
Note: the recordings may be too large to share via email.