How to re-enable a failed Office add-in (Outlook, Word & Excel)
If you encounter an error where an add-in for Microsoft Office core applications (e.g. Outlook, Word, Excel, PowerPoint) has stopped working, you can perform the following steps to re-enable the add-in.
- Close and re-open the Office application that is encountering issues (e.g. Word).
 Click on the ‘File’ button in the top left-hand corner.
- Click on the ‘Options’ button which is located on the bottom left-hand side of the ‘File’ menu.
- Once the options menu has opened, click on the ‘Add-Ins’ option at the bottom left-hand side.
-

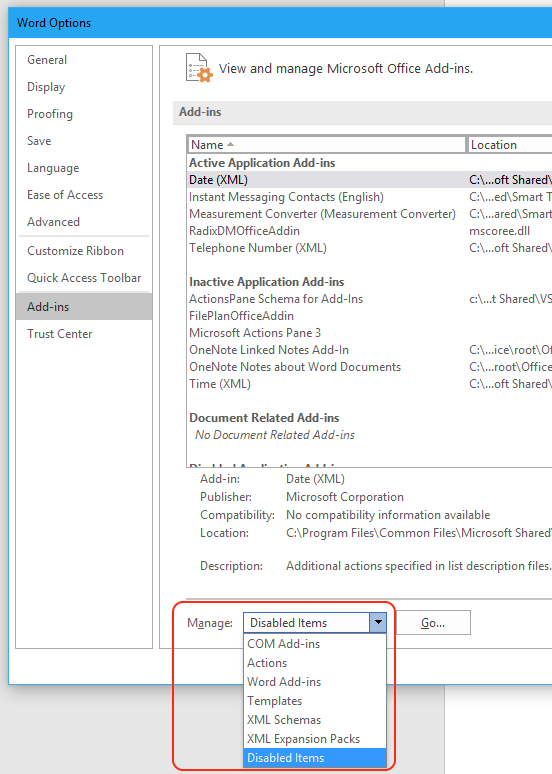
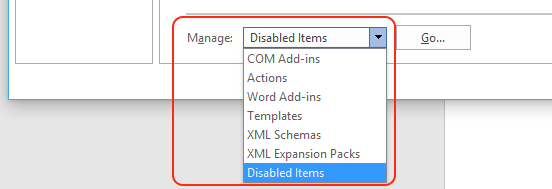
Click to enlarge When the ‘Add-Ins’ window opens, click on the ‘Manage:’ drop-down menu at the bottom of the window.
- Ensure you change this to be ‘Disabled Items’, then click the ‘Go…’ button to the right of the drop-down menu.
- If there are any options available here, click on each one individually – then select the ‘Enable’ button.
- Once there is nothing appearing here, click the ‘Close’ button to go back to the ‘Add-Ins’ overview screen.
- Change the dropdown menu option from ‘Disabled Items’ to ‘COM Add-ins’ and click the “Go…” button.
- Ensure that the add-in you require is ticked. If it is not ticked, click the checkbox to the left of the add-in you require.
- Once you have ticked the add-ins you need, you can then click on the ‘OK’ button.
- Close and re-open your Office application(s) and confirm that the add-in is functioning as expected.